Knitting Socks from Cuff to Toe: A Complete Guide
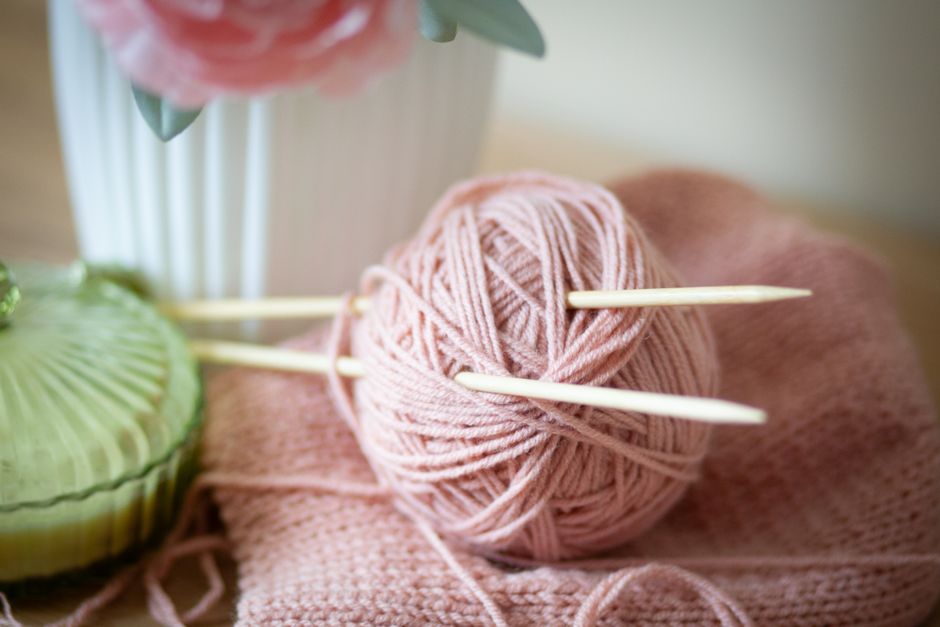
Knitting socks from the cuff down is a traditional approach that allows for a custom fit and a clear understanding of sock construction. This method begins at the top edge, or cuff, and proceeds through the leg, heel, foot, and toe. Each stage introduces specific techniques that build upon one another, making the process both educational and rewarding for knitters of various skill levels. The following guide outlines the key steps and considerations for creating a comfortable, well-fitting sock.
Selecting appropriate materials and tools sets the foundation for a successful project. Yarn weight, fiber content, and needle size all influence the fabric’s characteristics, such as elasticity, durability, and warmth. Additionally, understanding the anatomy of a sock—cuff, leg, heel flap, heel turn, gusset, foot, and toe—helps in visualizing how the pieces come together. With careful attention to gauge and fit, knitters can produce socks that accommodate individual preferences and foot shapes.
This article walks through the entire process, from choosing yarn and needles to grafting the toe. It emphasizes methods and options rather than prescribing a single correct way, recognizing that variations in technique can yield different results depending on the knitter’s goals and the intended use of the socks. By focusing on the reasoning behind each step, knitters can adapt the instructions to suit their needs.
Choosing Yarn and Needles
The yarn chosen for sock knitting significantly affects the final product. Sock yarns typically contain wool for warmth and elasticity, often blended with nylon or other synthetic fibers to enhance durability. The blend ratio can vary, and the optimal choice depends on factors such as the intended use (everyday wear, hiking, or bed socks) and personal sensitivity to wool. For instance, a yarn with a higher wool content may provide better temperature regulation, while a higher synthetic content may increase abrasion resistance. It is also important to consider the yarn’s weight; fingering weight is common for socks, but sport or DK weights can be used for thicker, quicker-knit socks.
Needle selection is equally critical. Double-pointed needles (DPNs), circular needles using the magic loop technique, or two circular needles are all viable options. The choice often comes down to personal preference and the number of stitches. Needle size should be chosen to achieve the desired gauge, which is typically tighter for socks than for other garments to create a dense, long-wearing fabric. A common recommendation is to use a needle size that yields about 7–9 stitches per inch in stockinette stitch, but this can vary based on yarn and individual tension. Testing gauge with a swatch is essential to ensure the sock will fit as intended.
In addition to yarn and needles, other tools can be helpful. A tape measure, stitch markers, a tapestry needle for grafting, and a crochet hook for picking up stitches are often used. Some knitters also use a sock ruler or foot template to check progress. Stitch Haven offers a range of supplies that may be useful for sock knitting, though the specific tools are widely available from various sources.
Knitting the Cuff and Leg
The cuff is the top edge of the sock, and it is typically worked in a ribbed pattern to provide stretch and prevent the sock from sliding down. Common ribbings include 1×1, 2×2, or 3×1, each offering different degrees of elasticity. The cuff can be knit to varying lengths, from a short 1-inch band to a longer 3-inch cuff, depending on preference. After casting on the required number of stitches—often 64 for a medium adult sock in fingering weight—the knitter joins in the round, being careful not to twist the stitches. The cuff is then worked in the chosen ribbing for the desired length.
Following the cuff, the leg is knit in stockinette stitch (knit all stitches) or in a pattern stitch if desired. The leg length can range from a few inches (ankle socks) to 6 inches or more (crew or knee-high socks). This section is straightforward, allowing the knitter to become comfortable with the yarn and needles. It also provides an opportunity to incorporate design elements such as cables, lace, or colorwork, though these may affect the fit and should be considered in the overall gauge. The leg continues until the knitter reaches the point where the heel will begin, which is typically about 2 inches above the ankle bone for a standard fit.
Throughout the cuff and leg, maintaining even tension is important for a consistent fabric. Periodically checking the fit by trying the sock on (if possible) or measuring against the foot can help ensure the sock will be comfortable. Some knitters prefer to knit the leg slightly longer or shorter based on the wearer’s preference for coverage.
Creating the Heel Flap and Turning the Heel
The heel is often considered the most challenging part of sock knitting, but breaking it down into steps makes it manageable. The heel flap is worked back and forth on half of the total stitches, while the other half is held for the instep. The flap is typically knit in a slip-stitch pattern to create a denser, more durable fabric that can withstand the friction of walking. A common heel flap is worked over 32 stitches for a 64-stitch sock, and it is usually about 2 to 2.5 inches long, or until it is square. The slip-stitch pattern often involves slipping the first stitch of each row and then alternating knit and slip stitches, which reinforces the heel.
Once the heel flap is complete, the heel turn is executed to create a cup shape that accommodates the heel bone. This involves working short rows with decreases to form a curved shape. The typical heel turn is worked on the wrong side and right side, with decreases at the edges of the central stitches. For example, on a 32-stitch heel flap, one might work across 18 stitches, then decrease and turn, gradually reducing the number of stitches until only the center stitches remain. The result is a small pocket that will become the bottom of the heel. The exact number of stitches and decreases can vary based on the total stitch count and desired fit, so it is advisable to follow a pattern or formula that matches the gauge.
After turning the heel, the gusset is formed by picking up stitches along the sides of the heel flap and knitting them along with the instep stitches. This widens the sock to accommodate the foot’s instep and provides a smooth transition from heel to foot. The gusset decreases are then worked on subsequent rounds to return to the original stitch count. This step ensures a snug fit around the arch and prevents bagginess. The gusset can be a source of fit issues if not adjusted properly, so trying on the sock or measuring the foot at this stage can be helpful.
Knitting the Foot and Grafting the Toe
Once the gusset decreases are complete, the foot is knit in stockinette stitch (or continued pattern) until it reaches the desired length. The foot length is typically measured from the back of the heel to the tip of the toe, and it should be about 1.5 to 2 inches shorter than the total foot length to allow for the toe. For a precise fit, the knitter can try the sock on and stop when the sock reaches the base of the big toe. At this point, the toe shaping begins. The toe is often shaped with decreases at the sides, either in a wedge or a spiral pattern, to create a rounded tip. Decreases are usually worked every other round until a certain number of stitches remain, then every round until the final stitches are few.
The final step is grafting the toe, also known as the Kitchener stitch. This technique joins the remaining live stitches from the front and back of the sock using a tapestry needle, creating a seamless, flat join that is comfortable against the toes. The process involves a specific sequence of steps: inserting the needle through the first stitch on the front needle as if to purl, then through the first stitch on the back needle as if to knit, and repeating while maintaining tension. Although it may seem intricate at first, practice makes it smoother. The result is a smooth, invisible seam that mimics the natural curve of the toe. After grafting, the yarn is woven in, and the sock is complete. Blocking may be done to even out the stitches, though it is not always necessary for socks.
Completing a sock from cuff to toe provides a sense of accomplishment and a custom-fitted garment. The process involves multiple techniques that can be adapted to different yarns, patterns, and foot shapes. With each pair, knitters gain experience and can refine their methods. Whether knitting for oneself or as a gift, the handmade sock represents a blend of craft and function.