Upcycling Old Jeans into a Durable Tote Bag
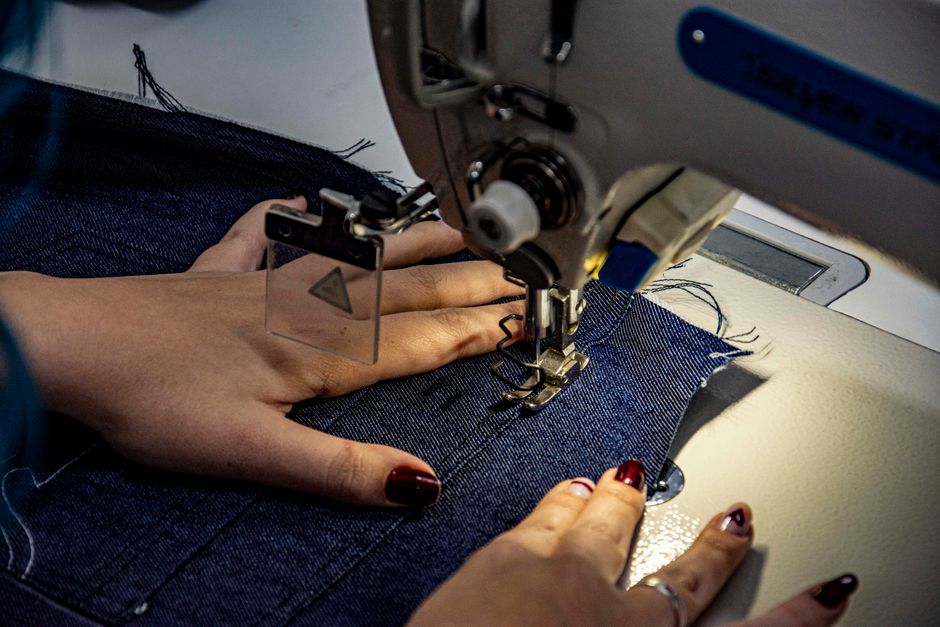
Upcycling worn jeans into a durable tote bag is a practical and creative way to give new life to old denim. Denim is a sturdy and long-lasting fabric, making it an excellent choice for a bag that needs to withstand daily use. This project involves cutting the jeans, reinforcing key areas, and stitching a tote with lined handles and a flat bottom. The process requires basic sewing skills and materials, but with careful attention to detail, you can create a functional and stylish bag.
In this article, we will explore the steps to transform a pair of old jeans into a tote bag, focusing on techniques that enhance durability. We will cover selecting the right jeans, preparing the fabric, cutting pattern pieces, reinforcing stress points, constructing the bag body, adding a flat bottom, and attaching lined handles. Each step includes tips to ensure a professional finish. By following this guide, you can create a tote bag that is both eco-friendly and practical for everyday use.
Before beginning, gather necessary tools such as scissors, sewing machine, heavy-duty needle, thread, pins, and a measuring tape. A seam ripper may also be useful for removing pockets or seams. The project can be completed in a few hours, depending on your sewing experience. Remember that working with denim requires patience and a sturdy machine; if your machine struggles, consider using a denim needle and adjusting tension. Let’s start by choosing and preparing the jeans.
Selecting and Preparing the Jeans
The first step is to choose a pair of jeans that are suitable for upcycling. Look for jeans with minimal stretch, as 100% cotton denim provides the best durability and shape retention. Avoid jeans with excessive wear, thin spots, or holes in areas you plan to use. If the jeans have decorative elements like embroidery or studs, decide whether to incorporate them or cut around them. The color and wash of the denim can influence the final look; darker denim may hide stains better, while lighter denim offers a casual aesthetic. Consider using jeans from different pairs to create a color-blocked effect, but ensure the weights are similar for consistent stitching.
Once you have selected the jeans, wash and dry them to remove any dirt or shrinkage. This step is crucial because denim can shrink after the first wash, and you want the bag to maintain its shape. After washing, iron the jeans flat, paying attention to seams and hems. If the jeans have a zipper or button fly, you may need to remove these hardware pieces using a seam ripper or pliers. For the bag body, you will typically use the large leg panels, so cut along the inner and outer seams to open the legs into flat fabric. Set aside any pockets or waistbands for potential use as pockets on the bag.
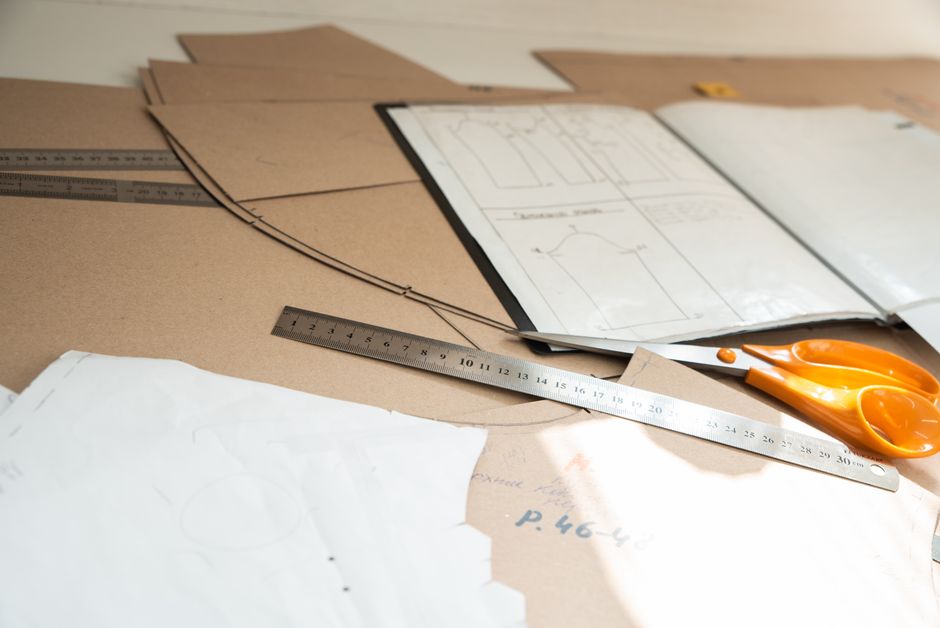
When cutting the jeans, plan your pattern pieces to maximize the fabric. A typical tote bag requires two main body pieces (front and back), two bottom pieces (if creating a flat bottom), two handle pieces, and two lining pieces. You can create a paper pattern or draw directly on the fabric with chalk. Standard dimensions for a tote bag are approximately 15 inches wide by 16 inches tall, with a bottom gusset of 4 inches. However, you can adjust these measurements to suit your needs. Remember to add seam allowances (usually 1/2 inch) to all pattern pieces. Cut carefully, ensuring straight edges and accurate corners.
Reinforcing Key Areas for Durability
Denim is naturally durable, but certain areas of a tote bag experience more stress and require reinforcement. The points where handles attach to the bag body are particularly vulnerable, as they bear the weight of the contents. To reinforce these areas, you can add interfacing or additional layers of denim. Fusible interfacing, such as a mid-weight woven or non-woven interfacing, can be ironed onto the wrong side of the main fabric pieces to add stability without bulk. Alternatively, you can sew a square of denim or canvas behind the handle attachment points. This extra layer distributes the weight and prevents the fabric from tearing.
The bottom of the bag also benefits from reinforcement. If you are creating a flat bottom, consider adding a base panel made of heavier material, such as leather, canvas, or multiple layers of denim. This base can be inserted between the main fabric and the lining, or attached externally. Another option is to use a plastic canvas or stiff interfacing to give the bottom structure. When reinforcing, ensure that any added layers are securely stitched and do not create bulk that is difficult to sew through. Use a heavy-duty needle and strong thread, such as polyester or nylon, to withstand the thickness.
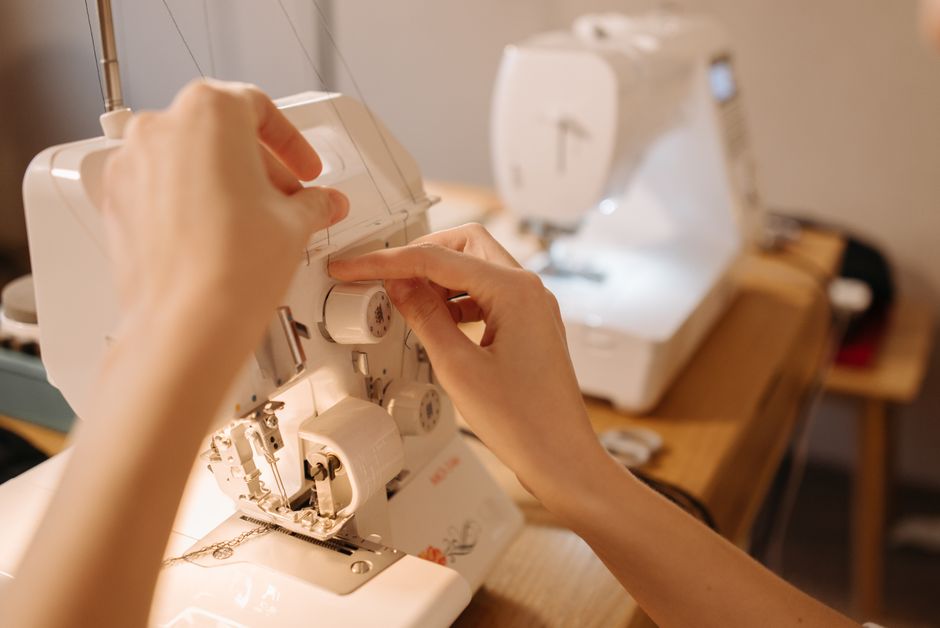
Seam allowances are another area to consider. When sewing denim, especially multiple layers, use a denim needle (size 100/16 or 110/18) and a longer stitch length (3.0 to 3.5 mm) to prevent skipped stitches. Press seams open or to one side to reduce bulk. For extra strength, you can topstitch along seams and edges. Topstitching not only adds durability but also gives a professional finish. If your sewing machine has a walking foot, use it to feed the thick fabric evenly. Always test on a scrap piece of denim to adjust tension and stitch length before sewing the actual bag.
Constructing the Bag Body and Flat Bottom
With the fabric prepared and reinforced, it’s time to construct the bag body. Start by placing the front and back pieces right sides together. Pin along the side seams and the bottom edge, leaving the top open. Sew the side seams and bottom seam using a 1/2-inch seam allowance, backstitching at the beginning and end for security. If you are adding a flat bottom, you will need to create a gusset. To do this, measure and mark a square at each bottom corner of the bag. For example, if you want a 4-inch wide bottom, mark a 2-inch square (since the gusset is formed by bringing the bottom seam to the side seam). Cut out these squares, then bring the bottom seam and side seam together at each corner, matching the raw edges. Sew across this opening, creating a flat bottom. This technique, often called “boxing the corners,” gives the bag a three-dimensional shape.
After sewing the main bag, turn it right side out and press the seams flat. If you added interfacing, it should now be on the inside. The bag should hold its shape. Next, create the lining using the same pattern pieces, but omit any reinforcement unless desired. The lining can be made from a lighter fabric, such as cotton or polyester, to reduce bulk. Sew the lining in the same manner as the main bag, but leave a 3- to 4-inch opening in the bottom seam for turning. This opening will be used later to turn the entire bag right side out after attaching the handles. Press the lining seams open. If you want to add internal pockets, now is the time to do so before assembling the lining. You can repurpose the jeans’ back pockets as patch pockets on the lining or on the exterior of the bag.
To assemble the bag and lining, place the main bag inside the lining with right sides together. The main bag should be right side out, and the lining should be wrong side out. Slide the main bag into the lining, matching side seams and top edges. Pin around the top edge. Sew around the entire top edge using a 1/2-inch seam allowance. This will attach the lining to the main bag. Turn the bag right side out through the opening in the lining bottom. Push out corners and press the top edge. Sew the opening in the lining closed by hand or machine. Topstitch around the top edge of the bag for a clean finish and added durability. This topstitching also helps keep the lining in place.
Creating and Attaching Lined Handles
The handles are a critical component of a durable tote bag, as they carry the weight of the contents. Lined handles not only look professional but also add strength. To make lined handles, cut two strips of denim and two strips of lining fabric, each measuring about 4 inches wide by 24 inches long (adjust length as desired). Fold each denim strip in half lengthwise, right sides together, and sew along the long edge with a 1/2-inch seam allowance. Turn the tube right side out and press flat. Repeat with the lining strips. Insert the lining tube inside the denim tube, matching raw edges at both ends. The lining should be slightly smaller to fit inside. Pin the layers together and baste along both long edges to secure. Then topstitch along both edges of the handle, creating a sturdy, lined strap. You can also add decorative stitching if desired.
Before attaching the handles, decide on placement. Typically, handles are placed about 2 to 3 inches from the side seams on the front and back of the bag. Mark the positions with pins or chalk. The ends of the handles should extend about 1 to 1.5 inches below the top edge of the bag. For extra reinforcement, you can insert the handle ends between the main bag and lining before sewing the top edge. However, if you have already assembled the bag, you can sew the handles onto the exterior. To do this, pin the handle ends in place and sew a square with an X inside (a box-X stitch) for maximum strength. This stitch pattern distributes stress and prevents the handle from pulling out. Repeat for all four handle ends.
After attaching the handles, check that they are even and secure. Give the bag a final press, paying attention to the handles and top edge. Your upcycled denim tote bag is now complete. It can be used for groceries, books, or everyday carry. The durability of the denim and the reinforced construction make it suitable for heavy use. With proper care, such as spot cleaning and occasional washing, the bag can last for years. This project not only reduces textile waste but also results in a unique, functional item. For more sewing projects and tips, consider exploring resources from Stitch Haven, a community for sewing enthusiasts.
Upcycling denim is a rewarding way to combine creativity with sustainability. Each bag tells a story of transformation.