Sewing Machine Tension Problems and How to Fix Them
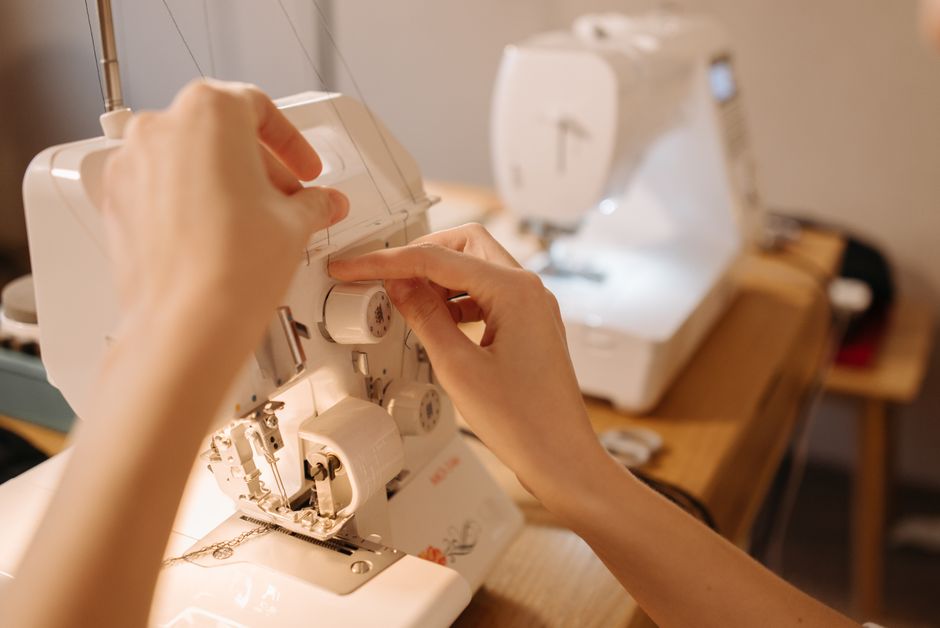
Sewing machine tension problems are among the most frequent challenges sewists encounter, often resulting in stitches that appear loose, tight, or otherwise unbalanced. These issues can stem from a variety of sources, including incorrect threading, bobbin complications, or improper tension settings. Understanding the underlying mechanics of stitch formation is the first step toward effective diagnosis and resolution. This article examines common causes of tension irregularities and outlines systematic methods for adjusting tension to achieve balanced seams.
By approaching tension problems methodically, you can identify whether the issue lies with the upper thread, the bobbin, or other factors. The goal is not to force a perfect stitch immediately but to understand how each component contributes to the final result. With patience and careful observation, most tension issues can be resolved without professional intervention, though some cases may require servicing by a qualified technician.
This guide provides a neutral, process-oriented overview of tension troubleshooting. It emphasizes transparency in methodology and avoids definitive claims about outcomes, as results depend on multiple variables such as machine model, fabric type, and thread quality. The information presented is intended for educational purposes and does not replace professional judgment.
Understanding Stitch Formation and Tension
At its core, a sewing machine creates a stitch by interlocking the upper thread with the bobbin thread. The upper thread is controlled by a series of tension discs, while the bobbin thread is regulated by the bobbin case tension spring. When these two threads meet in the fabric, they form a lockstitch. Ideally, the knot where the threads interlock should be buried in the fabric, not visible on either side. Tension settings determine how much resistance each thread encounters as it travels through the machine.
If the upper tension is too tight, it pulls the bobbin thread up to the top surface, creating a knot on the top. Conversely, if the upper tension is too loose, the bobbin thread remains on the bottom, and the upper thread may loop or appear loose. The bobbin tension also plays a role, though it is typically set at the factory and only adjusted when necessary. A balanced tension results in stitches that look identical on both sides of the fabric.
Several factors can disturb this balance. The type and weight of the thread, the fabric being sewn, the size of the needle, and the machine’s overall condition all influence tension. Additionally, lint accumulation, bent needles, or incorrect threading can mimic tension problems even when the tension settings are correct. Therefore, a systematic approach begins with ruling out these external factors before adjusting tension discs.
Common Causes of Loose or Tight Stitches
Loose stitches often appear as loops on the underside of the fabric or as stitches that can be easily pulled out. This typically indicates that the upper tension is too loose or that the bobbin thread is not properly seated in the bobbin case. Incorrect threading, where the thread misses a guide or tension disc, is a frequent culprit. Similarly, a bobbin wound unevenly or with the wrong thread can cause inconsistent feeding and loose stitches.
Tight stitches, on the other hand, may pucker the fabric or cause the thread to break frequently. This usually signals that the upper tension is too high, pulling the bobbin thread too forcefully. In some cases, a bobbin case that is too tight or a bobbin that is not compatible with the machine can create excessive resistance. Tight stitches can also result from using a needle that is too small for the thread, causing friction and increased tension.
Other factors that contribute to tension problems include:
- Using old or poor-quality thread that has inconsistent thickness.
- Sewing on delicate or stretchy fabrics that require different tension settings.
- Accumulation of lint or debris in the tension discs or bobbin area.
- A damaged or worn tension spring in the bobbin case.
- Improperly wound bobbins that are either too full or too sparse.
- Needles that are bent, dull, or inserted incorrectly.
Identifying the specific cause requires careful observation of the stitches and a process of elimination. It is helpful to test on a scrap of the same fabric with the same thread before making adjustments to the machine.
Step-by-Step Tension Adjustment Methods
Before adjusting tension, always begin by rethreading the machine with the presser foot raised. This ensures that the thread properly engages the tension discs. Consult the machine’s manual for the correct threading path, as guides vary between models. Next, check the bobbin: remove it, inspect for lint, and ensure it is wound evenly and inserted correctly. A bobbin that is not seated properly can cause immediate tension issues.
Once threading and bobbin are confirmed, set the upper tension dial to its midpoint, often marked as 4 or 5 on a scale of 0 to 9. Sew a test seam on a scrap of fabric. Examine the stitch: if the bobbin thread is visible on the top, the upper tension is too tight; if the upper thread loops on the bottom, it is too loose. Make adjustments in small increments, turning the dial one number at a time, and test after each change.
For bobbin tension adjustments, locate the small screw on the bobbin case. Turning it clockwise increases tension, while counterclockwise decreases it. This should be done gradually, often a quarter-turn at a time. It is generally recommended to avoid adjusting bobbin tension unless other methods fail, as it is easy to lose the factory setting. If you must adjust, mark the original position first.
Here is a systematic approach to tension adjustment:
- Rethread the upper thread with the presser foot up, ensuring it passes through all guides and tension discs.
- Remove the bobbin, clean the bobbin case, and reinsert the bobbin correctly.
- Set upper tension to the middle setting and sew a test seam.
- Analyze the stitch: if unbalanced, adjust upper tension in small increments.
- If upper tension adjustments do not resolve the issue, test bobbin tension by holding the bobbin case by the thread; it should hold slightly and release with a gentle tug.
- Adjust bobbin tension screw in quarter turns if necessary, then re-test.
- Repeat until stitches are balanced on both sides.
Remember that different fabrics and threads may require different tension settings. Always test on a scrap before sewing on your project.
Preventive Maintenance and Troubleshooting Tips
Regular maintenance can prevent many tension problems. Clean the machine after each project, removing lint from the tension discs, bobbin area, and feed dogs. Change needles frequently—at least every 8 to 10 hours of sewing—and use the correct needle type and size for your fabric and thread. Store bobbins properly to avoid tangles and ensure they are wound with even tension.
If tension issues persist despite adjustments, consider other factors such as the thread path. A thread that is too thick for the needle eye can cause tension, as can a thread that is not properly seated in the take-up lever. Sometimes, the issue is mechanical: a worn tension spring or a faulty bobbin case may need replacement. In such cases, consulting a professional technician may be necessary.
“Achieving balanced tension is a matter of understanding the interplay between upper and bobbin threads, and making incremental adjustments based on observation.”
Additionally, environmental factors like humidity can affect thread behavior. In dry conditions, thread may become brittle and break easily, while in humid conditions, it may swell and create tension. Adjusting room conditions or using a thread conditioner may help, though results vary.
When to Seek Professional Help
While many tension problems can be resolved with the methods described, some situations warrant professional attention. If you have followed all troubleshooting steps and still experience inconsistent stitches, the machine may have a deeper mechanical issue. This could include a misaligned tension assembly, a damaged bobbin case, or a problem with the timing of the machine. Attempting to fix such issues without proper training can cause further damage.
Signs that professional service is needed include:
- Persistent thread breakage despite correct threading and tension settings.
- Unusual noises or resistance when sewing.
- Stitches that skip or vary widely in length.
- The machine fails to form stitches at all.
- Visible damage to tension discs or bobbin case.
A qualified technician can diagnose and repair these issues, often using specialized tools. Regular servicing every 12 to 18 months, depending on use, can help maintain optimal performance and prevent tension problems from arising.
In conclusion, tension problems are a common but manageable aspect of sewing. By understanding the principles of stitch formation, methodically checking threading and bobbin, and making gradual adjustments, you can achieve balanced seams. Remember that each machine and fabric combination may behave differently, and patience is key. Always test on scraps and avoid forcing adjustments. With practice, you will develop a feel for your machine’s tension needs and be able to troubleshoot efficiently.